
Replacing a Davis 7758 Aspiration Fan Motor for a VP2
This guide provides instructions for replacing the existing Davis 7758 Aspiration Fan Motor for a Vantage Pro 2 weather station with a motor available from Amazon. The diameter of the new motor is slightly smaller than the original motor, so it can be secured with 1/16" thick neoprene foam.
Parts List
- Existing Davis 7758 Standard Motor Kit for Fan-Aspirated Radiation Shield
- Replacement motor (about $10) (RF-500TB-18280 Mini Electric DC Motor 1.5V-5V 2700RPM DC Motor 32mm Diameter Motor, Pack of 2 - Amazon.com)
- Neoprene foam (about $10) (Neoprene Foam Strip Roll By Dualplex, 1" Wide x 10' Long x 1/16" Thick, Weather Seal High Density Stripping Non Adhesive - Weather Strip Roll Insulation Foam Strips - 10 Feet Long - Amazon.com)
- Soldering pencil
Remove existing motor
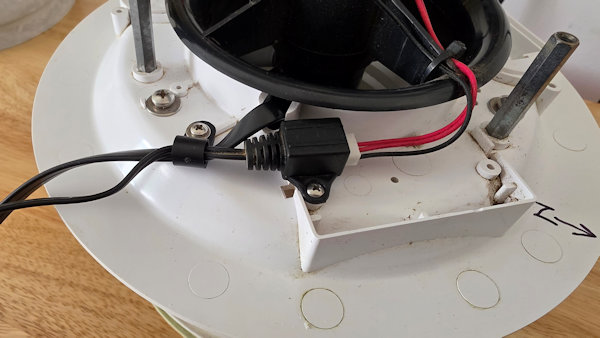
- Remove the entire fan assembly from the radiation shield.
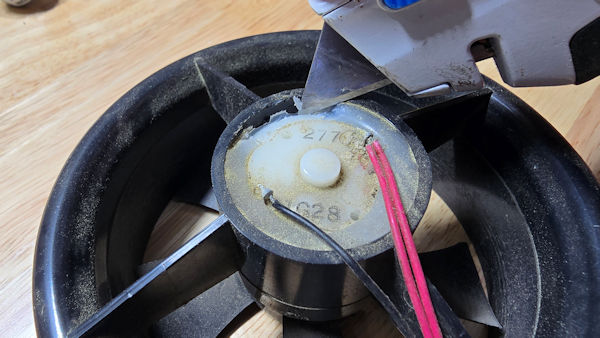
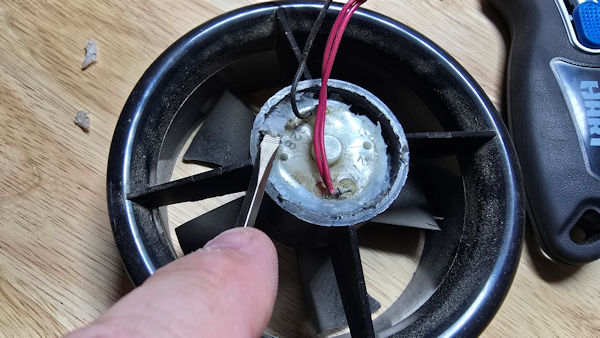
Unplug the connector with two red wires and one black wire then lift the fan assembly out of the shield. - Cut the silicone from around the edge of the motor with a knife.
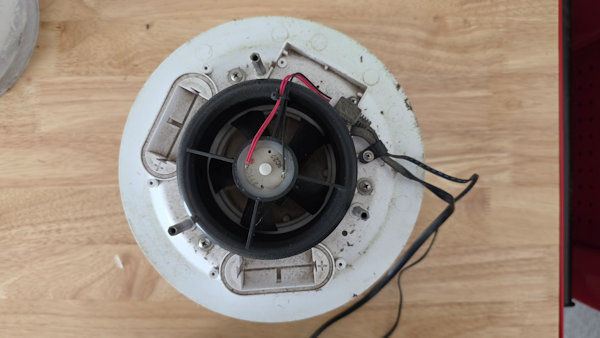
- Scrape the silicone off the motor with a small flathead screwdriver.
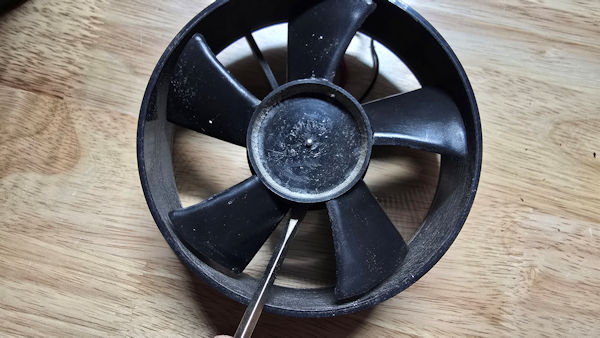
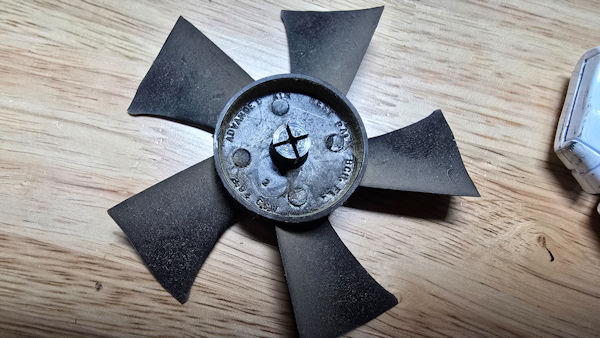
- Turn the housing assembly over and carefully pry the fan off the motor spindle.
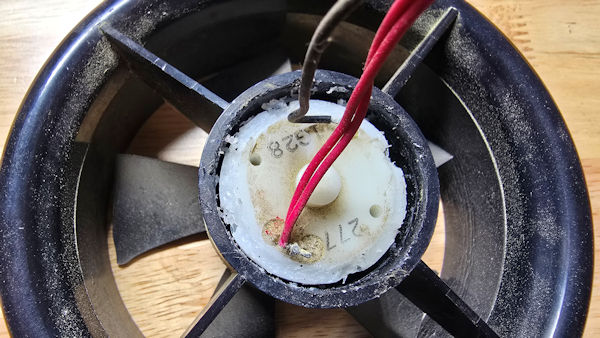
- Remove the motor.
- Scrape any remaining silicone from the housing then clean the housing and fan with a soft damp cloth.
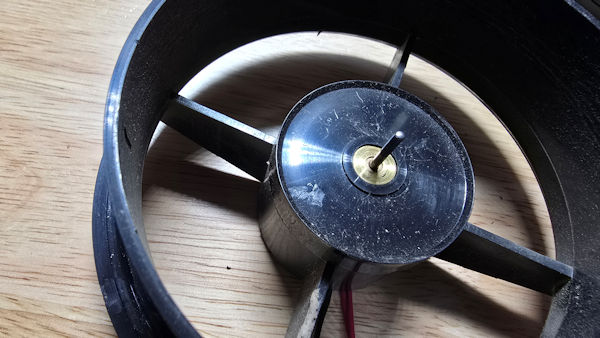
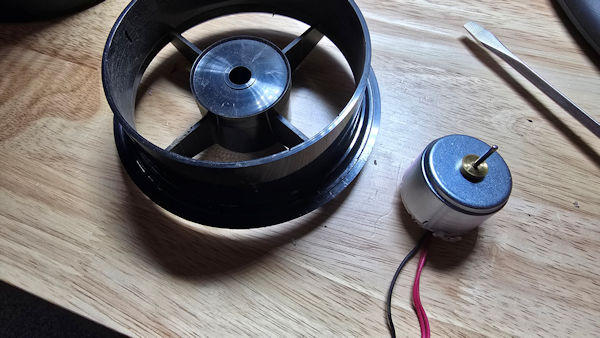
Prepare the new motor for installation
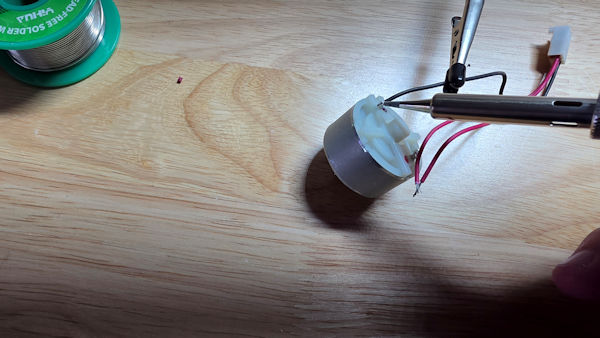
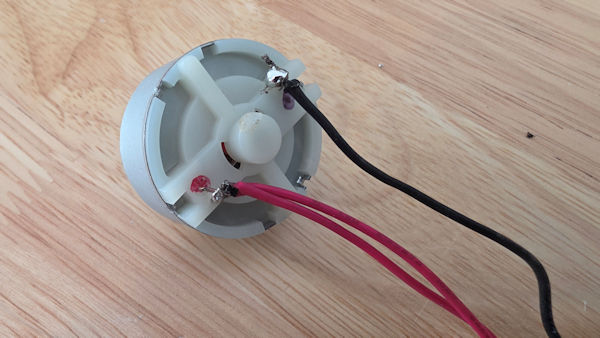
- Cut the wires from the old motor.
- Strip the insulation from the ends of the wires for 20-gauge stranded wire.
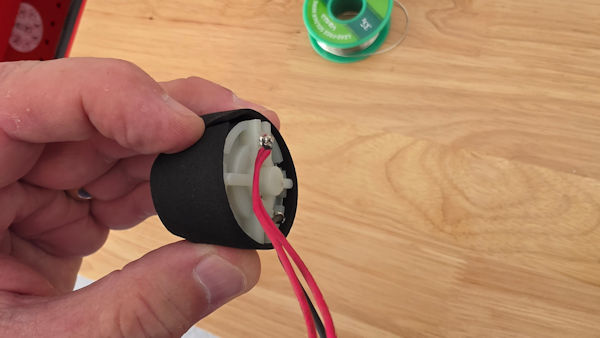
- Solder the two red wires to the positive (+) connector and the black wire to the negative (-) connector.
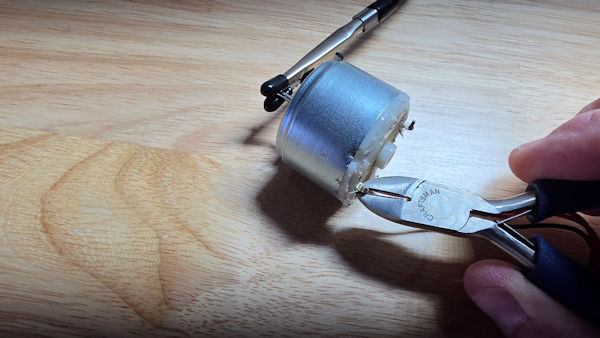
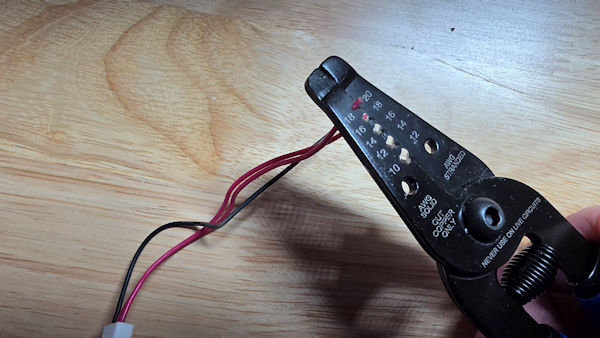
Install the new motor into the housing and connect the fan
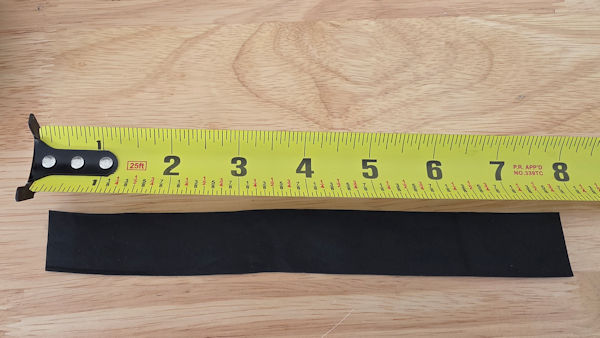
- Cut about a 7 ½" piece neoprene foam from the roll.
- Wrap the foam around the new motor.
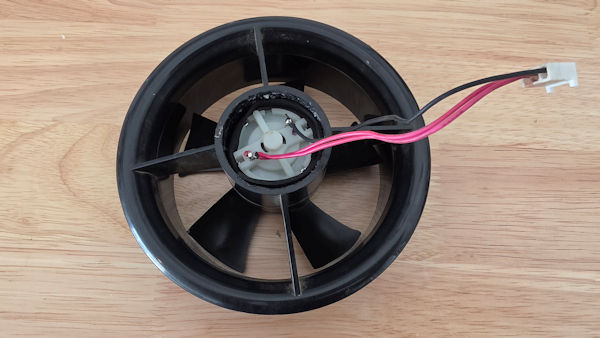
- Carefully and slowly insert the foamed-wrapped motor into the housing.
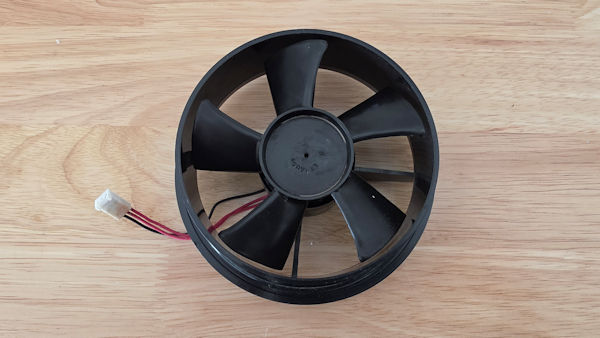
- Flip the housing over and push the fan onto the motor spindle.
Ensure the fan is centered and the blades spin freely without touching the side of the housing. - Insert the fan housing into the radiation shield and plug the connectors together.
Before reassembling the complete radiation shield, connect the cable to the solar panel
and hold the solar panel in the sun to ensure the fan spins. - If the fan is working, reassemble the ISS and enjoy!